Ninja Coffee Maker Water Reservoir Leaks: A Comprehensive Guide To Tackle The Problem
There’s nothing worse than waking up excited for your morning coffee only to find your Ninja Coffee Maker water reservoir leaking all over your countertop. It’s frustrating, messy, and can make you question whether you even need coffee at all. But hold on—before you throw in the towel (or the coffee maker), let’s dive deep into this issue and find out why it happens and how to fix it.
If you’re reading this, chances are you’ve already experienced the dreaded leak. Don’t worry, you’re not alone. Many Ninja Coffee Maker owners face the same problem. But here’s the good news: most of these leaks are fixable with a bit of troubleshooting and some simple solutions. Let’s take a look at what might be causing your coffee maker to leak and how you can stop it from happening again.
Before we jump into the nitty-gritty, let’s quickly talk about why the Ninja Coffee Maker is so popular in the first place. It’s powerful, versatile, and makes some seriously delicious coffee. But like any machine, it can have its quirks. If you’re ready to tackle the water reservoir leaks and get back to enjoying your daily brew, keep reading!
Read also:Travelvidz Xyz Your Ultimate Travel Companion In The Digital Age
Understanding the Ninja Coffee Maker Water Reservoir
The water reservoir is the heart of your Ninja Coffee Maker. Without it, your coffee maker wouldn’t function properly. It’s where you pour in fresh water, and from there, the machine heats it up and brews your coffee. But sometimes, things go wrong, and the reservoir starts leaking. Let’s explore why this happens.
First off, the water reservoir is designed to fit snugly into the machine. If it’s not properly seated, water can spill out during operation. Additionally, over time, the seals and gaskets that keep the reservoir watertight can wear out, leading to leaks. These are just a couple of examples of what might be causing your Ninja Coffee Maker water reservoir leaks.
Common Causes of Water Reservoir Leaks
Now that we’ve covered the basics, let’s get into the common culprits behind those pesky leaks. Here’s a list of the most likely causes:
- Improper seating: If the reservoir isn’t pushed in all the way, water can spill out during brewing.
- Worn-out seals: Over time, the rubber seals around the reservoir can degrade, causing leaks.
- Blocked or clogged vents: If the air vent on the reservoir is blocked, pressure can build up and cause water to escape.
- Cracked or damaged reservoir: Physical damage to the reservoir can lead to leaks.
- Overfilling: Pouring too much water into the reservoir can cause overflow and leaks.
How to Diagnose the Problem
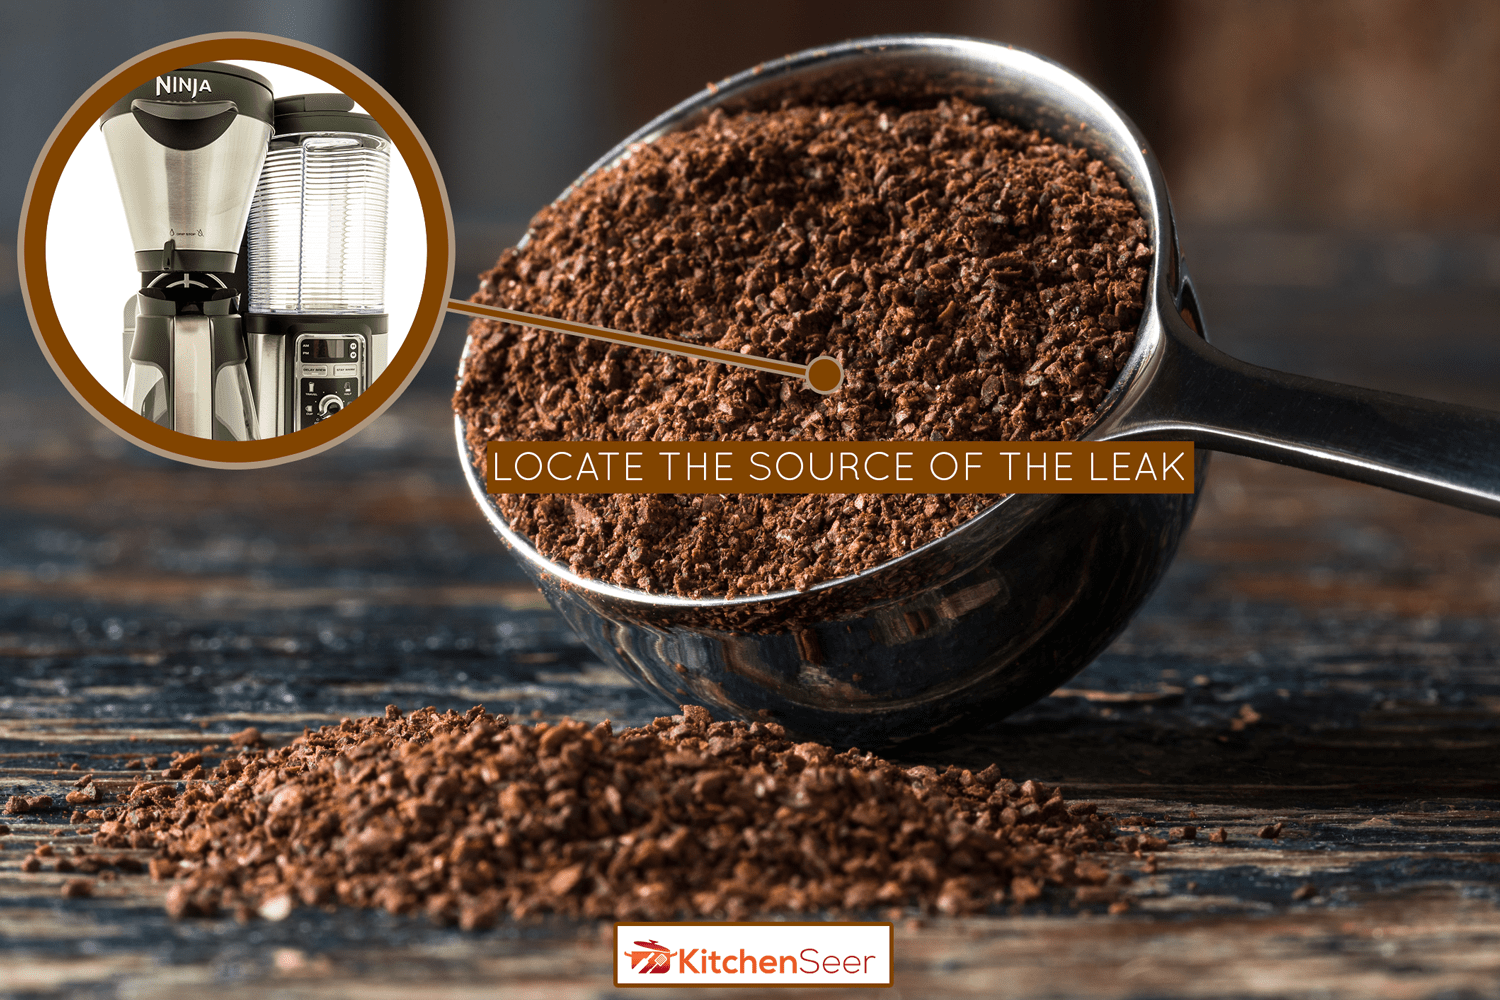
Alright, so now you know what could be causing the leaks. But how do you figure out which one is the issue with your specific Ninja Coffee Maker? Here’s a step-by-step guide to diagnosing the problem:
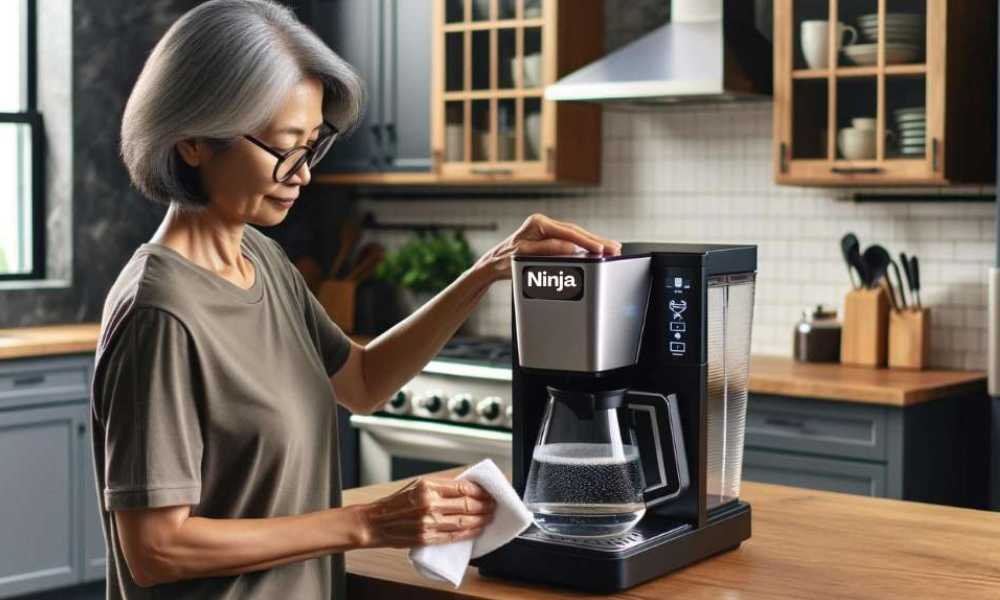
Start by checking if the reservoir is properly seated. Take it out, clean it thoroughly, and make sure it clicks back into place. Next, inspect the seals for any signs of wear and tear. If they’re cracked or dried out, it might be time to replace them. Then, check the air vent for any blockages. Finally, take a look at the reservoir itself for any cracks or damage.
Step-by-Step Troubleshooting Guide
Here’s a quick troubleshooting checklist you can follow:
Read also:Tim Lovejoy Brain Cancer A Journey Of Strength Hope And Resilience
- Unplug the coffee maker and remove the reservoir.
- Wash the reservoir with warm, soapy water and dry it completely.
- Inspect the seals and gaskets for damage.
- Check the air vent for blockages and clean it if necessary.
- Examine the reservoir for cracks or other physical damage.
- Reinsert the reservoir and ensure it clicks into place.
Solutions to Fix Ninja Coffee Maker Water Reservoir Leaks
Now that you’ve diagnosed the problem, it’s time to fix it. Depending on the cause, the solution might be as simple as reseating the reservoir or as involved as replacing parts. Let’s break it down:
Reseat the Reservoir
If the reservoir isn’t properly seated, all you need to do is take it out and push it back in until you hear a click. This ensures a secure fit and should stop any leaks caused by improper seating.
Replace the Seals
If the seals are worn out, you’ll need to replace them. You can usually order replacement seals directly from Ninja or a trusted retailer. Follow the manufacturer’s instructions for installation to ensure a proper fit.
Clear the Air Vent
A blocked air vent can cause pressure buildup, leading to leaks. Use a toothpick or a similar tool to gently clear any debris from the vent. Be careful not to damage the vent while doing this.
Repair or Replace the Reservoir
If the reservoir itself is cracked or damaged, you’ll need to either repair it or replace it entirely. Replacement reservoirs are available from Ninja or authorized dealers. If you’re handy, you might be able to repair minor cracks with a food-safe adhesive, but this isn’t always recommended.
Preventive Maintenance for Your Ninja Coffee Maker
Prevention is key when it comes to keeping your coffee maker in top shape. Regular maintenance can help you avoid leaks and other issues in the future. Here are some tips:
- Clean the reservoir and other parts regularly to prevent buildup and blockages.
- Inspect the seals and gaskets periodically for signs of wear and tear.
- Don’t overfill the reservoir—stick to the maximum fill line.
- Handle the reservoir carefully to avoid cracks or damage.
Regular Cleaning Schedule
Set up a regular cleaning schedule for your Ninja Coffee Maker. Once a week, take out the reservoir and wash it thoroughly. Once a month, run a descaling cycle to remove mineral buildup. This will not only prevent leaks but also ensure your coffee tastes its best.
Expert Tips for Ninja Coffee Maker Owners
As someone who’s dealt with their fair share of coffee maker issues, I’ve picked up a few tricks along the way. Here are some expert tips to help you get the most out of your Ninja Coffee Maker:
- Always use filtered water to reduce mineral buildup.
- Store your coffee maker in a cool, dry place to prevent damage.
- Consider upgrading to a higher-capacity reservoir if you brew a lot of coffee.
When to Call for Professional Help
While most issues can be fixed at home, there are times when professional help is necessary. If you’ve tried everything and the leaks persist, or if the problem seems more complex, it might be time to contact Ninja customer support or a certified repair technician.
Conclusion: Keep Your Ninja Coffee Maker Leak-Free
In conclusion, Ninja Coffee Maker water reservoir leaks can be frustrating, but they’re usually easy to fix with a bit of troubleshooting and maintenance. By understanding the common causes and solutions, you can keep your coffee maker running smoothly and enjoy your daily brew without any hassle.
So, what’s next? Take a moment to inspect your coffee maker, follow the steps we’ve outlined, and see if you can resolve the issue. And don’t forget to share your experience in the comments below! If you found this guide helpful, consider sharing it with your fellow coffee lovers. Together, we can keep those Ninja Coffee Makers leak-free and brewing strong.
Until next time, stay caffeinated and happy brewing!
Table of Contents
- Understanding the Ninja Coffee Maker Water Reservoir
- Common Causes of Water Reservoir Leaks
- How to Diagnose the Problem
- Solutions to Fix Ninja Coffee Maker Water Reservoir Leaks
- Preventive Maintenance for Your Ninja Coffee Maker
- Expert Tips for Ninja Coffee Maker Owners

